Lesson 1 of 12 · Bridal Makeup Foundations
What Makes Bridal Makeup Different (and How to Plan Your Look)
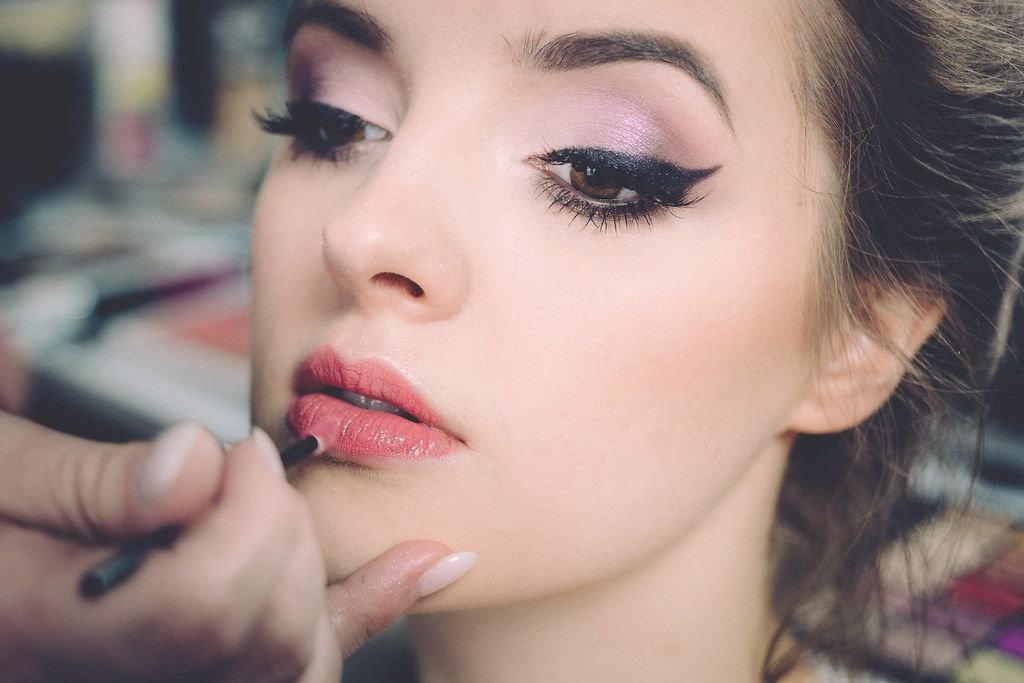

In this lesson
- The three jobs bridal makeup has to do that everyday makeup doesn’t
- Background makeup vs. accent makeup, the framework the whole course uses
- Five planning questions to answer before your trial
- Your first homework: building a mood board
- A style comparison table and your first practice drill
Most people can do their own everyday makeup. Bridal makeup is a different job. It has to look soft and natural up close, still read clearly in photos taken from across a room, and hold up through a very long day of happy tears, hugs, warm rooms and dancing.
This free lesson sets out the way of thinking behind every other lesson in the course. Once you understand why bridal techniques are different, the steps that follow will make sense rather than feeling like rules to memorise.
The three jobs of bridal makeup
1. It has to last
A typical wedding day runs ten to fourteen hours from getting ready to the last dance. Everyday makeup is usually built for a few hours. Bridal makeup has to be built in thin, well-set layers, with products chosen for staying power, and with a small touch-up plan for the gaps. Lessons 4, 6 and 11 are all about this.
2. It has to photograph well
The camera flattens the face and washes out colour. A face that looks “done” in the mirror can look bare in photos. The fix isn’t more product. It’s more definition in the right places: gentle contour under the cheekbones and jaw, well-shaped brows, and lashes and liner that frame the eyes. We’ll also cover the opposite problem: shine and flashback from the wrong products.
3. It has to still look like you
Brides rarely regret makeup that was too natural. They often regret makeup that made them look like someone else. The aim is to look like yourself on your best day: even skin, bright eyes, healthy colour in the cheeks and a lip that suits you.
When in doubt, make it softer in the mirror and stronger in definition. Soft colour with crisp shape photographs beautifully. Strong colour with soft shape usually doesn’t.
The framework: background and accent

Classic cosmetics training splits makeup into two layers, and we’ll use the same split all the way through the course:
- Background makeup evens out the canvas. That’s colour correctors, foundation, concealer and powder. Its job is to make the skin look smooth and even, without anyone noticing it.
- Accent makeup enhances features on top of that canvas. That’s blush, contour and highlight, eyeshadow, liner, mascara, brows and lips. Its job is to add shape, warmth and focus.
Most bridal makeup mistakes happen when one layer tries to do the other’s job: foundation applied heavily to “add glow”, or bronzer used to hide redness. Keep the jobs separate and the result looks cleaner straight away.
Five questions to answer before your trial
Good makeup artists don’t start with products. They start with a short conversation. Whether you’re doing your own makeup or someone else’s, answer these first:
- What’s the setting and the light? A sunny outdoor ceremony, a candlelit evening reception and a brightly lit indoor room all need slightly different intensity.
- What’s the overall style? Romantic and soft, classic and polished, glamorous and dramatic, or barely-there natural? Your dress, hair and flowers should all point the same way.
- What do you want to correct or play down? Redness, dark circles, a shiny T-zone, uneven brows? Write them down so you can deal with them on purpose.
- What do you love and hate? Textures, shades and feelings on your skin. If you never wear lipstick, a bold red on your wedding day may feel like a costume.
- How confident are you applying it? Be honest. A simpler routine you can do well beats an ambitious one you’ll rush on the morning.
Homework: your mood board
Gather 6–10 photos of bridal makeup you love, and 2–3 you don’t. Try to find faces with a skin tone and eye shape close to yours. Then look for the pattern. Is it always a glowing skin finish? Always a defined lash line? Always a nude lip? That pattern is your brief, and you’ll refine it in every lesson that follows.
Before you move on
- I’ve written down my setting, style and lighting
- I’ve listed what I want to correct
- I’ve saved 6–10 reference photos and spotted the pattern
Choose your bridal style
Most bridal looks sit somewhere on this scale. Decide where you want to be before you buy anything, because it changes how much product and time you need.
| Natural | Classic | Glam | |
|---|---|---|---|
| Skin | Sheer to medium, glowing | Medium, satin | Medium to full, soft-focus |
| Eyes | One soft colour, brown liner, mascara | Three shades, soft liner, wispy lashes | Deeper crease, defined liner, fuller lashes |
| Cheeks | Cream blush only | Blush and a soft contour | Blush, contour and highlight |
| Lips | Tinted, close to your own colour | Rose or nude, lined | Stronger colour, crisp edge |
| Time | 25–35 minutes | 45–60 minutes | 60–75 minutes |
Pick one star
A balanced face usually has one feature leading. Strong eyes with a strong lip can look heavy in daylight and at close range. Decide which you want people to notice first, then keep the other one softer. If you’re not sure, choose the eyes: they’re where people look in conversation, and they’re the focus of most wedding portraits.
Mistakes to avoid from the start
- Copying a photo of a different face. Use reference photos for the mood, then adapt the placement to your own eye and face shape.
- Doing what you always do, but more of it. Doubling your everyday makeup makes it heavier, not longer-lasting. Lasting comes from thin, set layers.
- Using too much. Good bridal makeup isn’t painting every inch of the face. Even out what needs evening, and leave good skin alone.
Practice drill: your before photo
- Stand facing a window with no makeup on and take a photo straight on.
- Note three things you love about your face and two you’d like to soften.
- Keep the photo. You’ll compare it with your trial photos, and it’s the best way to see whether a look still looks like you.
In the next lesson we build the kit: what you actually need, what to skip, and how to keep it clean.